Table of Contents
Introduction to Photographing Clear Pouches
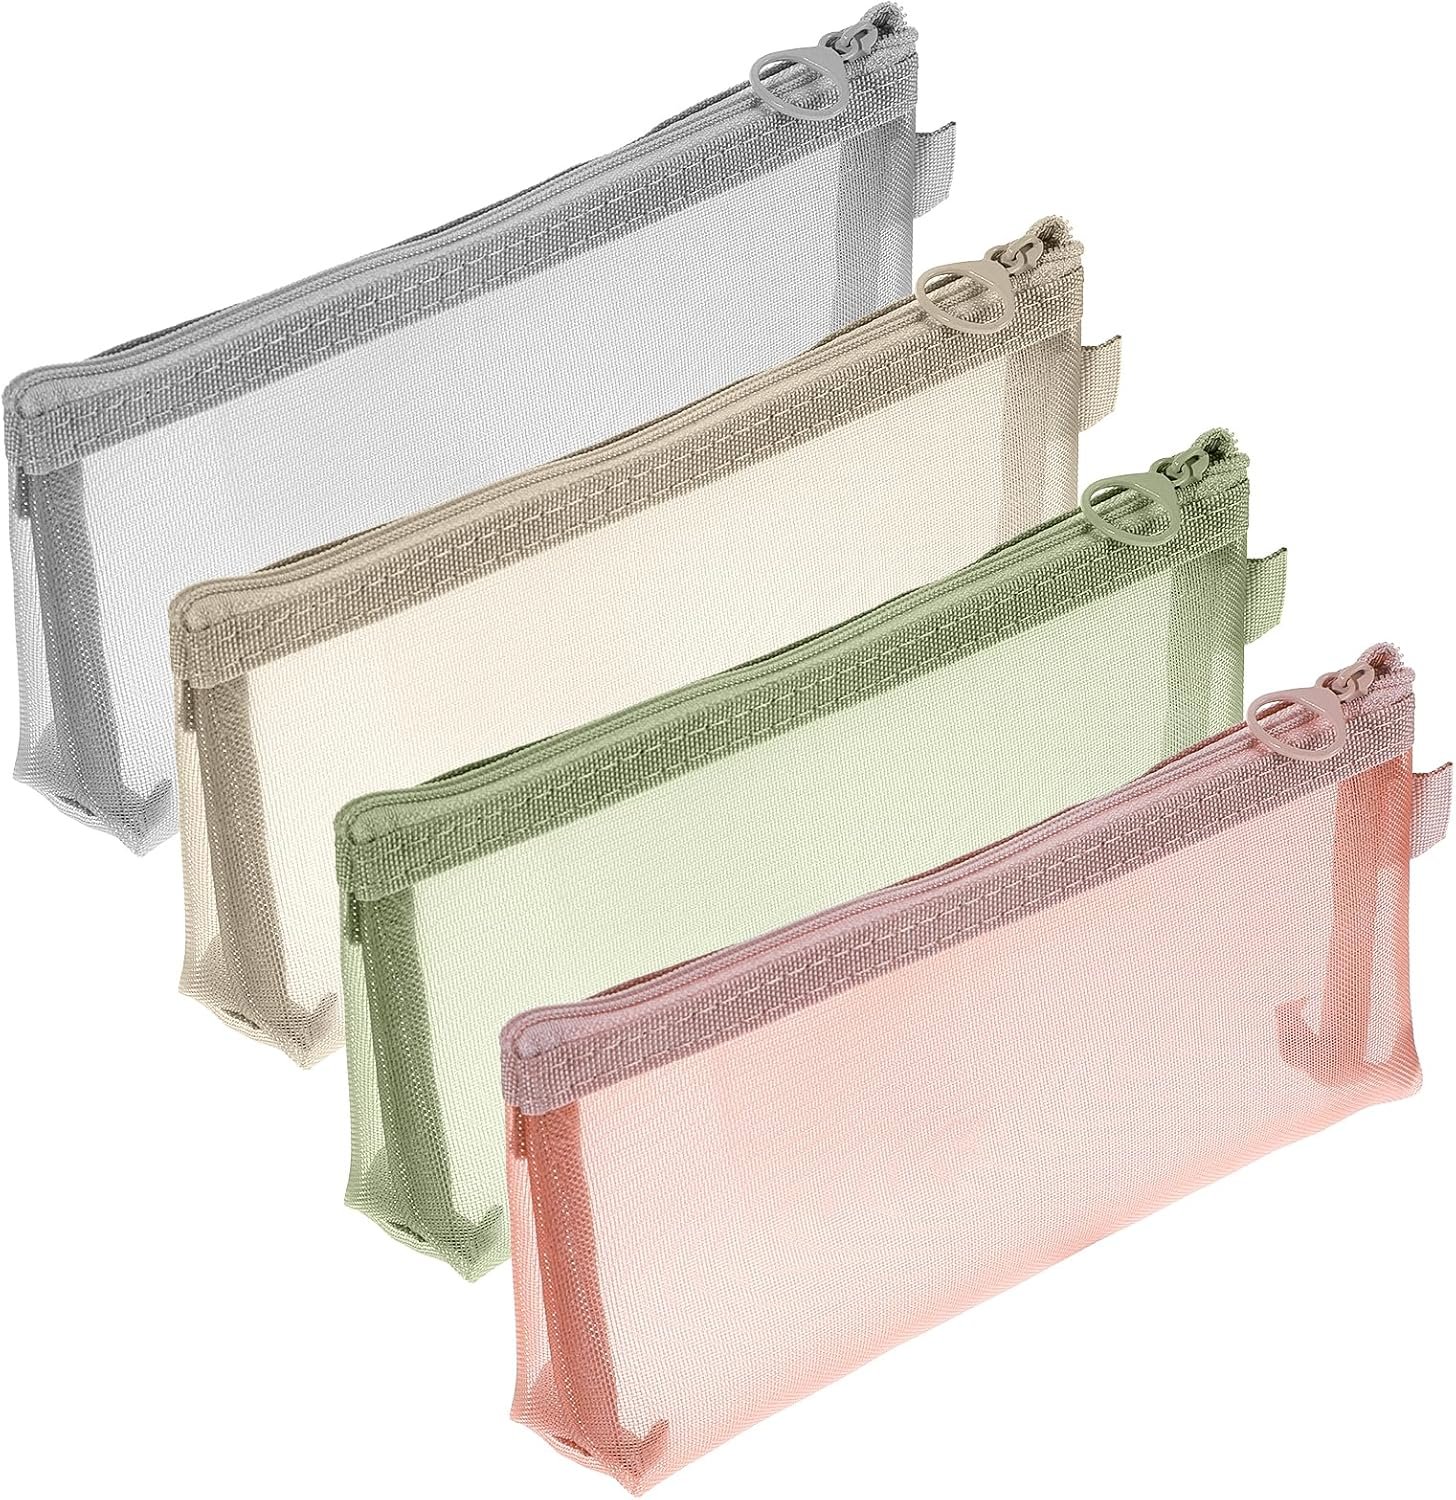
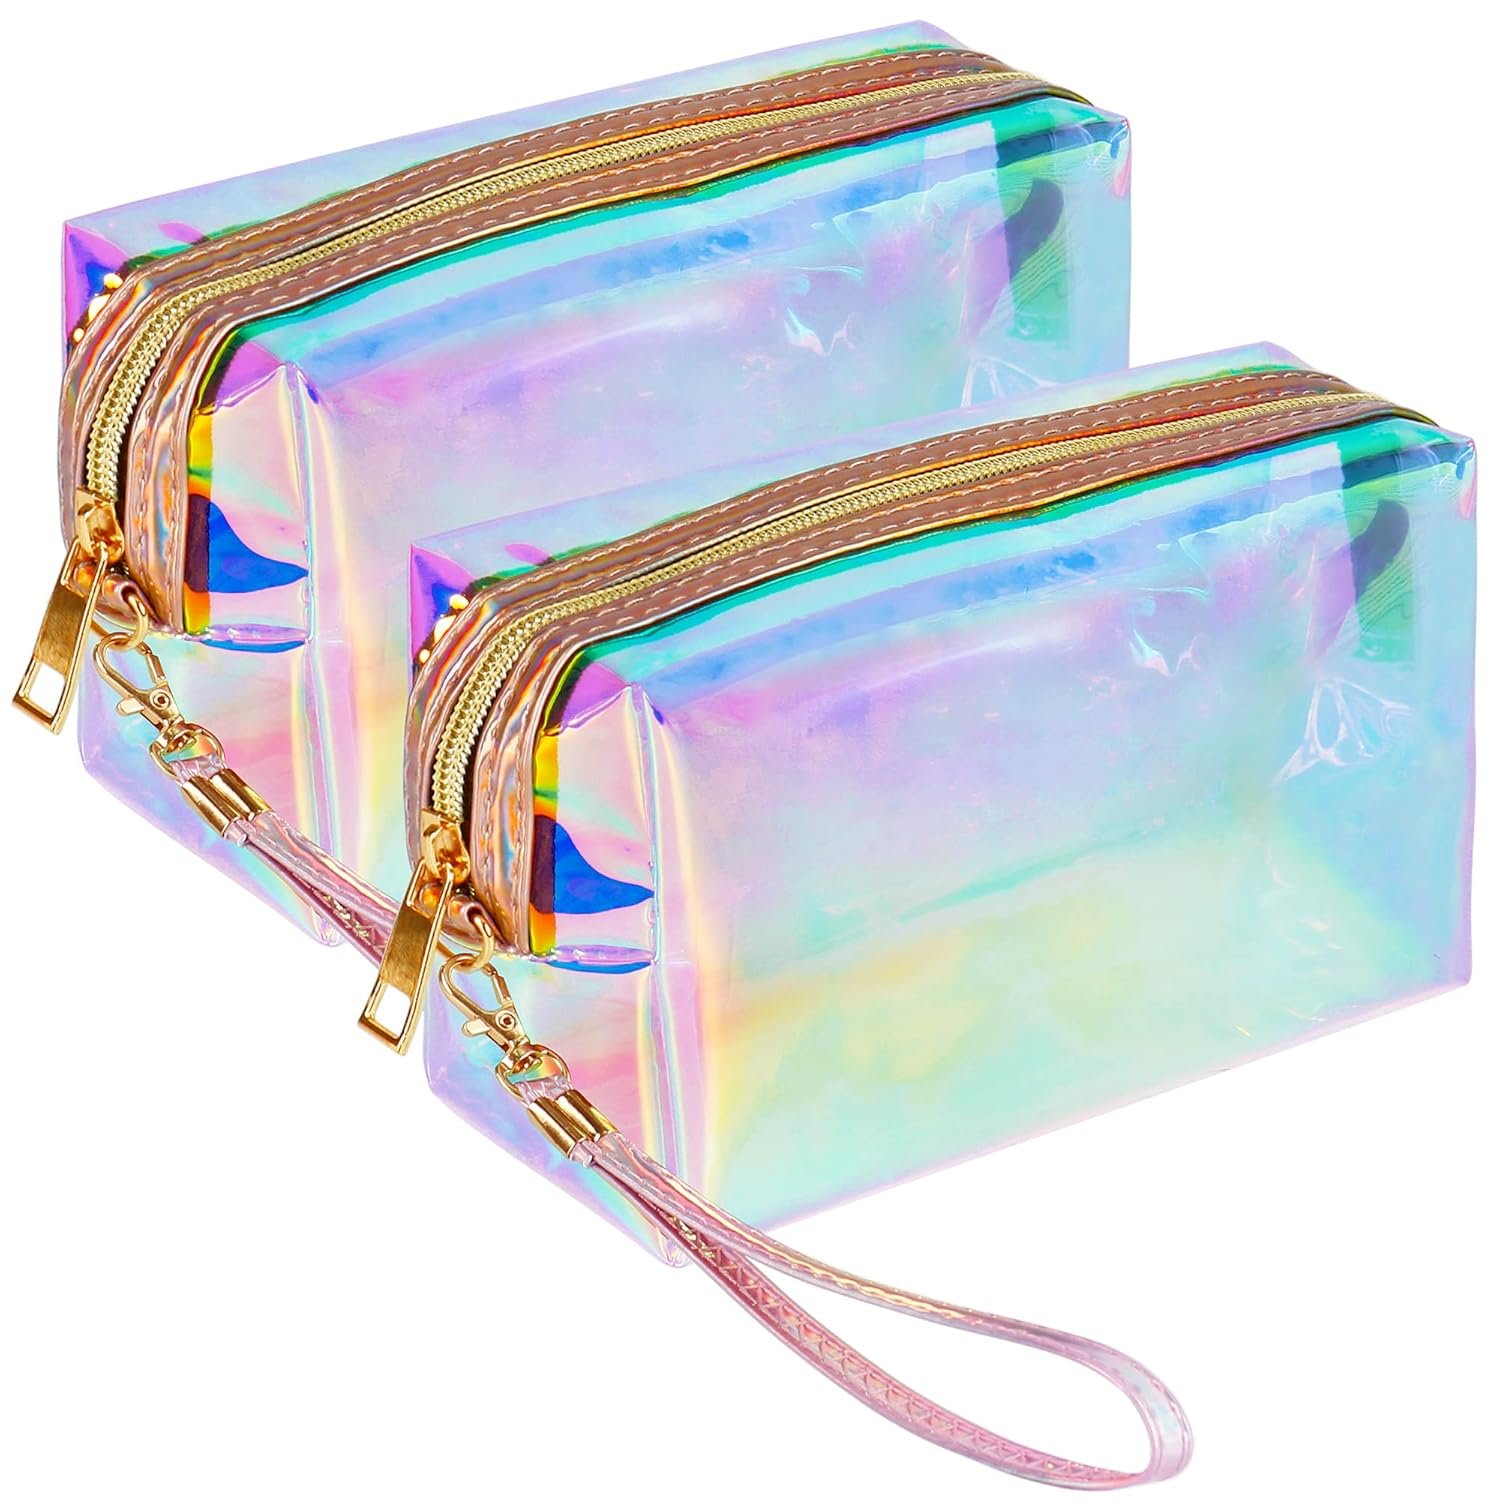
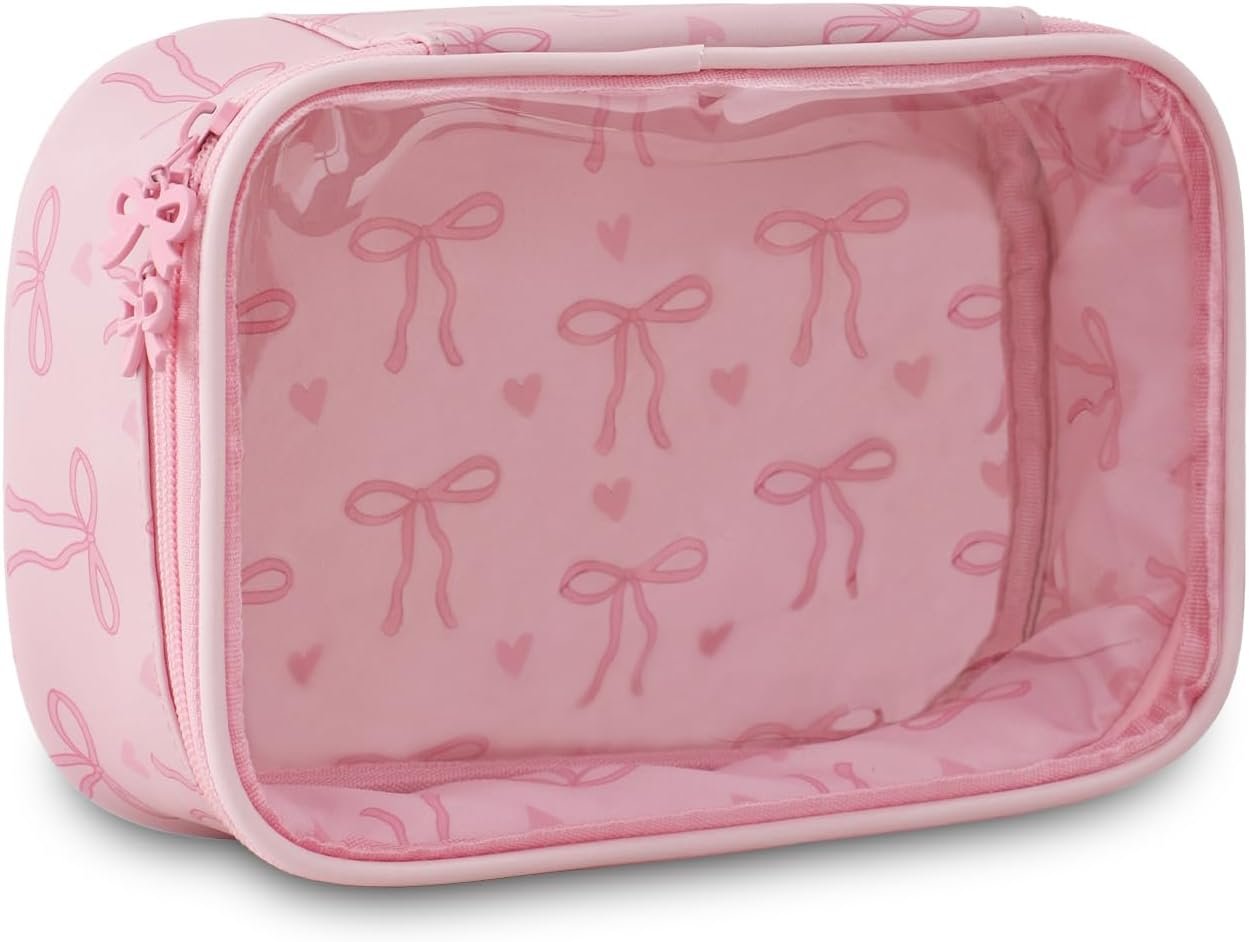
Clear pouches, such as those produced by YoPaPouch, offer a transparent appeal that showcases products inside without obstruction. However, capturing their pristine clarity in photographs can be challenging due to unwanted reflections from lights, surroundings, or camera equipment. Reflections distort the visual purity, making it difficult for potential customers to appreciate the pouch’s quality and contents. Mastering techniques to minimize these issues ensures professional-grade images that attract buyers and highlight the product’s features effectively. This article explores proven methods to photograph clear pouches without reflections, guiding you through setup, lighting, and editing strategies for optimal results.
Understanding the Nature of Reflections
Reflections occur when light bounces off the smooth, glossy surface of clear pouches, creating bright spots or distorted images that obscure the interior view. These are exacerbated by direct light sources, shiny backgrounds, or even the photographer’s own gear. To combat this, start by recognizing common culprits: harsh overhead lighting, flash units, and metallic or mirrored surfaces nearby. By controlling the angle of light incidence and diffusion, you can redirect rays away from the lens, preserving transparency. Transitioning from comprehension to action, proper lighting forms the foundation of reflection-free photography.
Mastering Lighting Techniques
Lighting is paramount in clear pouch photography, as it determines how light interacts with the transparent material. Soft, diffused light mimics natural overcast conditions, scattering rays evenly to avoid hotspots. Position large softboxes or umbrellas at 45-degree angles on either side of the pouch, ensuring no direct beams hit the surface head-on. Avoid using built-in camera flashes, which create sharp, specular reflections. Instead, opt for continuous LED panels with adjustable color temperatures around 5500K for daylight simulation.
For even more control, employ polarizing filters on your lights or camera lens. These tools rotate to block polarized light waves responsible for glare. Experiment with light tents, which enclose the pouch in translucent fabric, diffusing illumination from all directions uniformly. As you refine your lighting setup, consider the environment’s role in preventing stray reflections.
- Use two softbox lights at 45 degrees to the subject for balanced illumination.
- Incorporate a main light and fill light with a 2:1 ratio to add subtle depth without glare.
- Employ black flags or gobos to block light spill onto reflective edges.
- Test with low-intensity continuous lights before high-powered strobes.
- Diffuse harsh sunlight through sheer curtains for outdoor shoots.
Optimizing Background and Studio Setup
A seamless background enhances focus on the clear pouch while minimizing environmental reflections. Choose matte black or white seamless paper rolls, as they absorb light rather than bounce it back. For added versatility, gradient backgrounds in neutral tones create depth without introducing shine. Position the pouch on an elevated acrylic stand to suspend it slightly, preventing table reflections from the bottom. Ensure the studio space is free of glossy floors or walls by covering them with non-reflective fabrics like duvetyne.
Maintain a clean, matte shooting surface, such as acrylic sheets frosted on one side, to support the pouch without mirroring lights. Distance the setup from windows or doors to avoid incidental light bounces. These preparations pave the way for camera-specific adjustments that further refine image quality.
Selecting the Right Camera and Lens
Macro lenses with focal lengths between 50mm and 100mm excel for clear pouch close-ups, offering shallow depth of field to blur distractions while keeping the subject sharp. A circular polarizing (CPL) filter on the lens is invaluable; rotate it while viewing the LCD to instantly reduce surface glare. Shoot in aperture priority mode with f/8 to f/11 for optimal sharpness across the transparent material.
Use a tripod to stabilize shots, eliminating camera shake-induced motion blur, and set ISO low at 100 to preserve detail. Manual focus ensures precision on the pouch’s interior, bypassing autofocus struggles with transparent subjects. With these hardware choices in place, post-processing becomes the final polish for flawless images.
Effective Post-Processing Strategies
Even with meticulous setup, minor reflections may persist, addressed through software like Adobe Lightroom or Photoshop. Begin by adjusting exposure and highlights to tame bright spots without losing contrast. The clone stamp or healing brush removes stubborn glare seamlessly. Apply a slight haze reduction while boosting clarity to enhance texture visibility inside the pouch.
Curves adjustments fine-tune midtones, ensuring the clear material appears lifelike. For batch processing multiple YoPaPouch samples, presets streamline workflows while maintaining consistency. Compare techniques quantitatively to select the best approach:
| Technique | Reflection Reduction (%) | Setup Time (min) | Best For |
|---|---|---|---|
| Polarizing Filter | 70-85 | 2 | Quick shoots |
| Light Tent | 85-95 | 10 | Product catalogs |
| Black Flags | 60-75 | 5 | Edge control |
| Post-Processing Clone | 90-100 | 15 | Final tweaks |
Advanced Tips for Professional Results
For experts, cross-polarization elevates photography: use a linear polarizer on the light source and a CPL on the lens, rotating both orthogonally to eliminate nearly all reflections. This method reveals hidden details within pouches. Integrate motion control rigs for angled shots showcasing the pouch’s flexibility without repositioning lights. Regular calibration of monitors ensures color accuracy, vital for transparent products.
Spray a fine mist of water or use anti-reflective coating temporarily on edges during shoots, photographing immediately to avoid droplets. These pro techniques, honed through experience, deliver e-commerce-ready images that captivate audiences.
Conclusion
Photographing clear pouches without reflections demands a blend of strategic lighting, thoughtful setup, precise equipment, and subtle editing. By implementing these methods—from diffused illumination and polarizing filters to matte backgrounds and post-production finesse—photographers can produce stunning visuals that emphasize transparency and quality. Whether for catalogs or online stores, reflection-free images elevate product appeal, driving customer interest and sales. Consistent practice refines these skills, ensuring every shot captures the true essence of clear pouches like those from YoPaPouch.
Last Updated on April 25, 2026 by YoPaPouch
Payment Methods We Accept
To provide you with the best shopping experience, all payment service fees are covered by us. You only pay the order amount—we take care of the rest as a token of our sincerity.
1. Credit/Debit Cards
We support all major international card networks, including Visa, Discover, Diners Club, American Express (Amex), and JCB.
Estimated processing time: 1-2 hours | Service Fee: $0
2. Local Payment Methods
For your convenience, we support various popular regional payment options with no extra cost to you:
- Asia: WeChat Pay
- Europe: iDEAL (Netherlands), Bancontact (Belgium), BLIK (Poland), EPS (Austria), Multibanco (Portugal), MyBank
- Latin America: Pix (Brazil), OXXO, and SPEI (Mexico)
Estimated processing time: 1-2 hours | Service Fee: $0
3. Bank Wire Transfer (T/T)
We accept traditional bank telegraphic transfers for all orders.
Processing time: Usually 3 business days | No extra fee
* All transactions are secure and encrypted. Thank you for choosing our service!
Get A Sample