Table of Contents
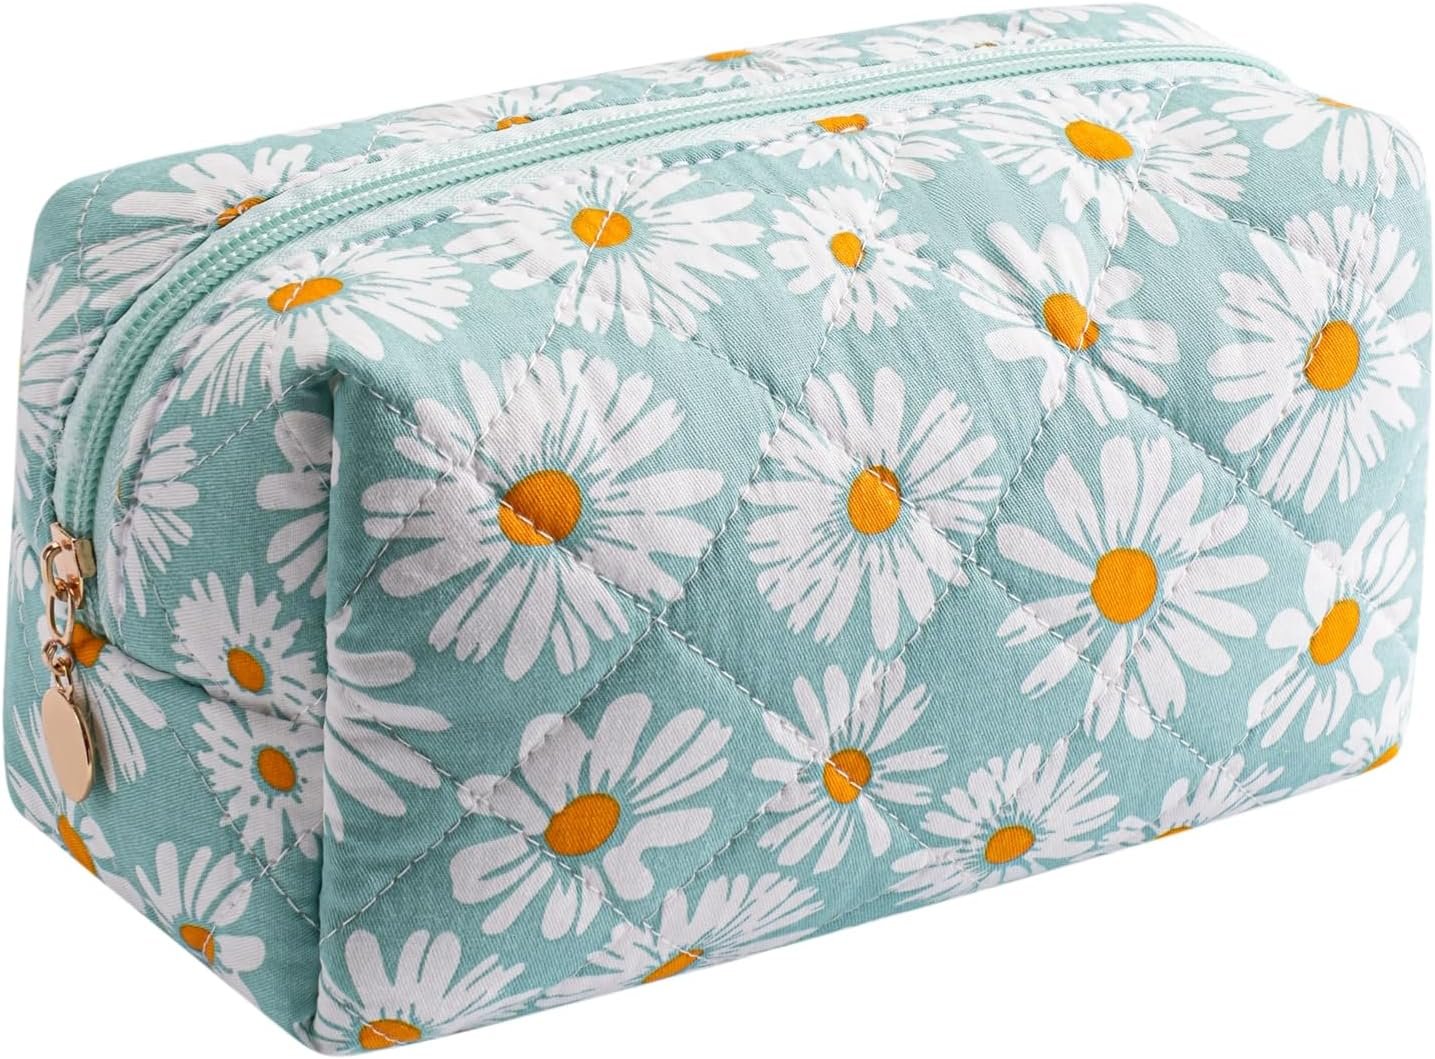
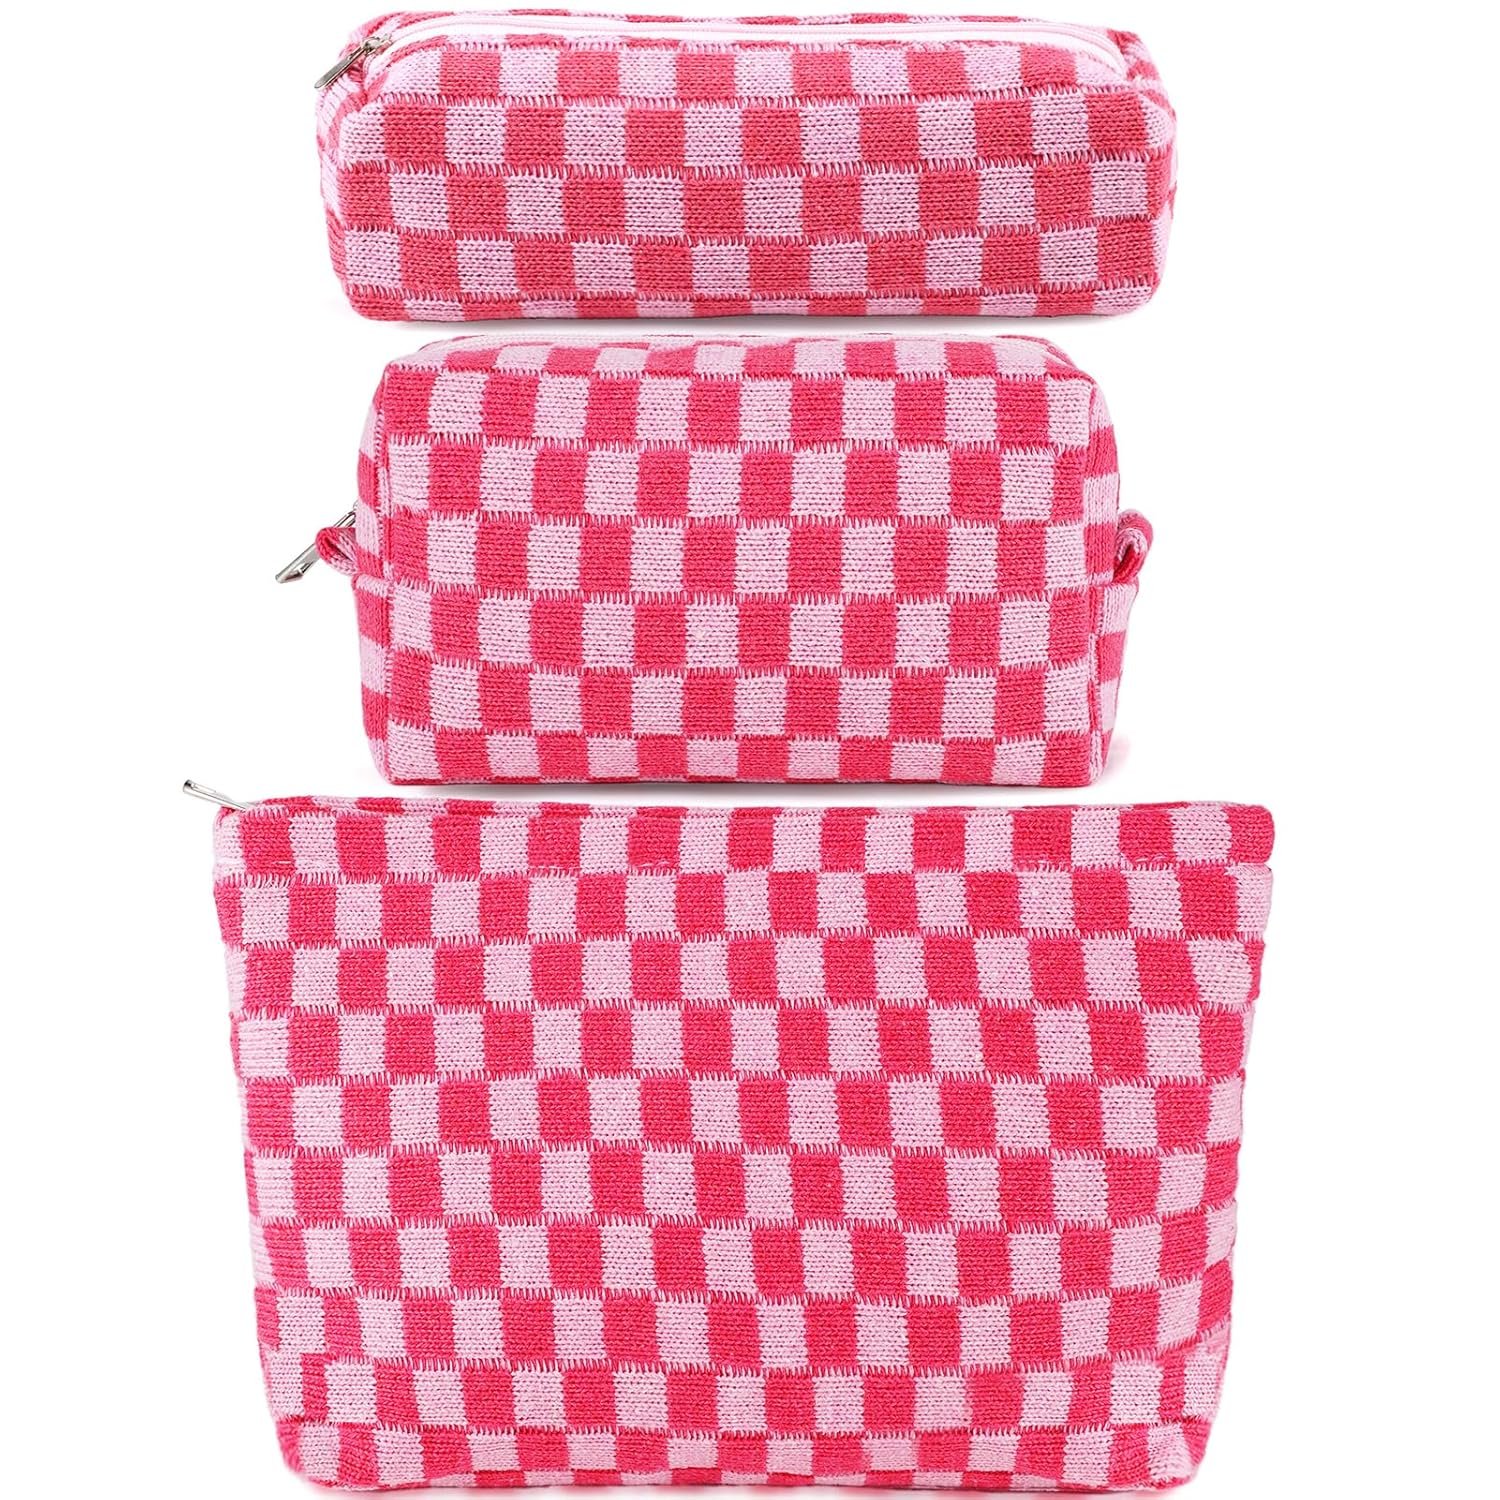
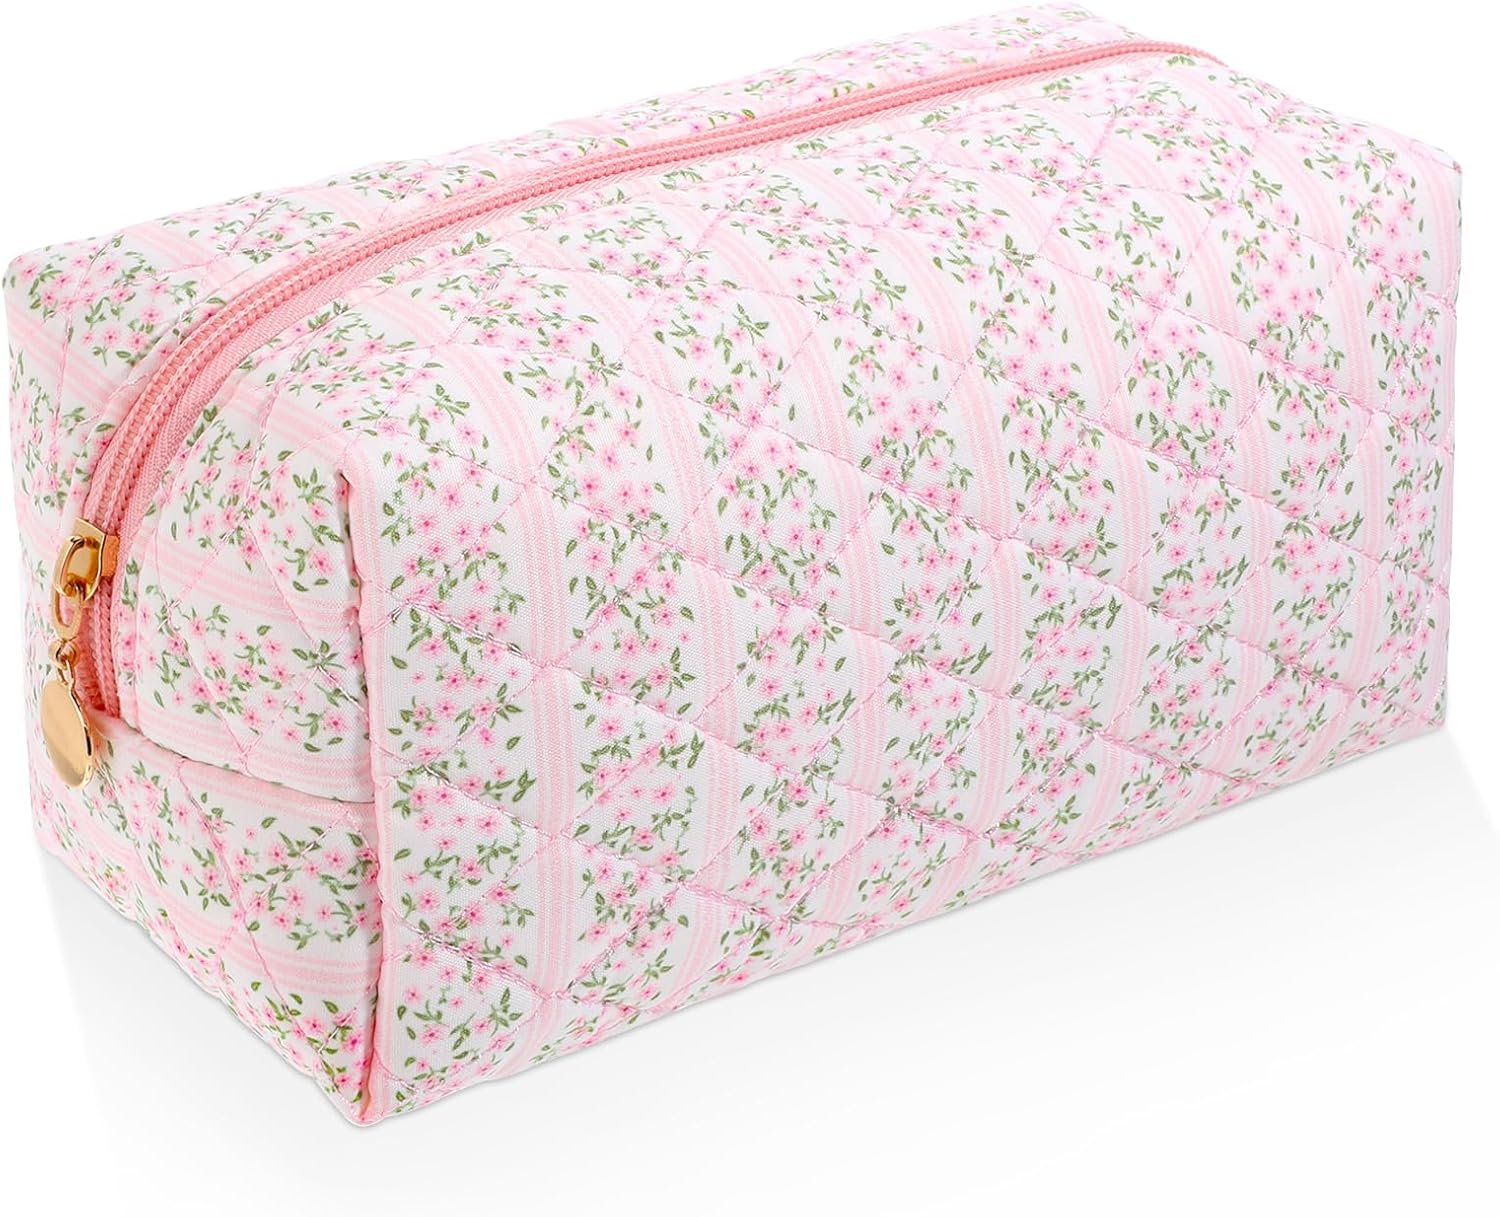
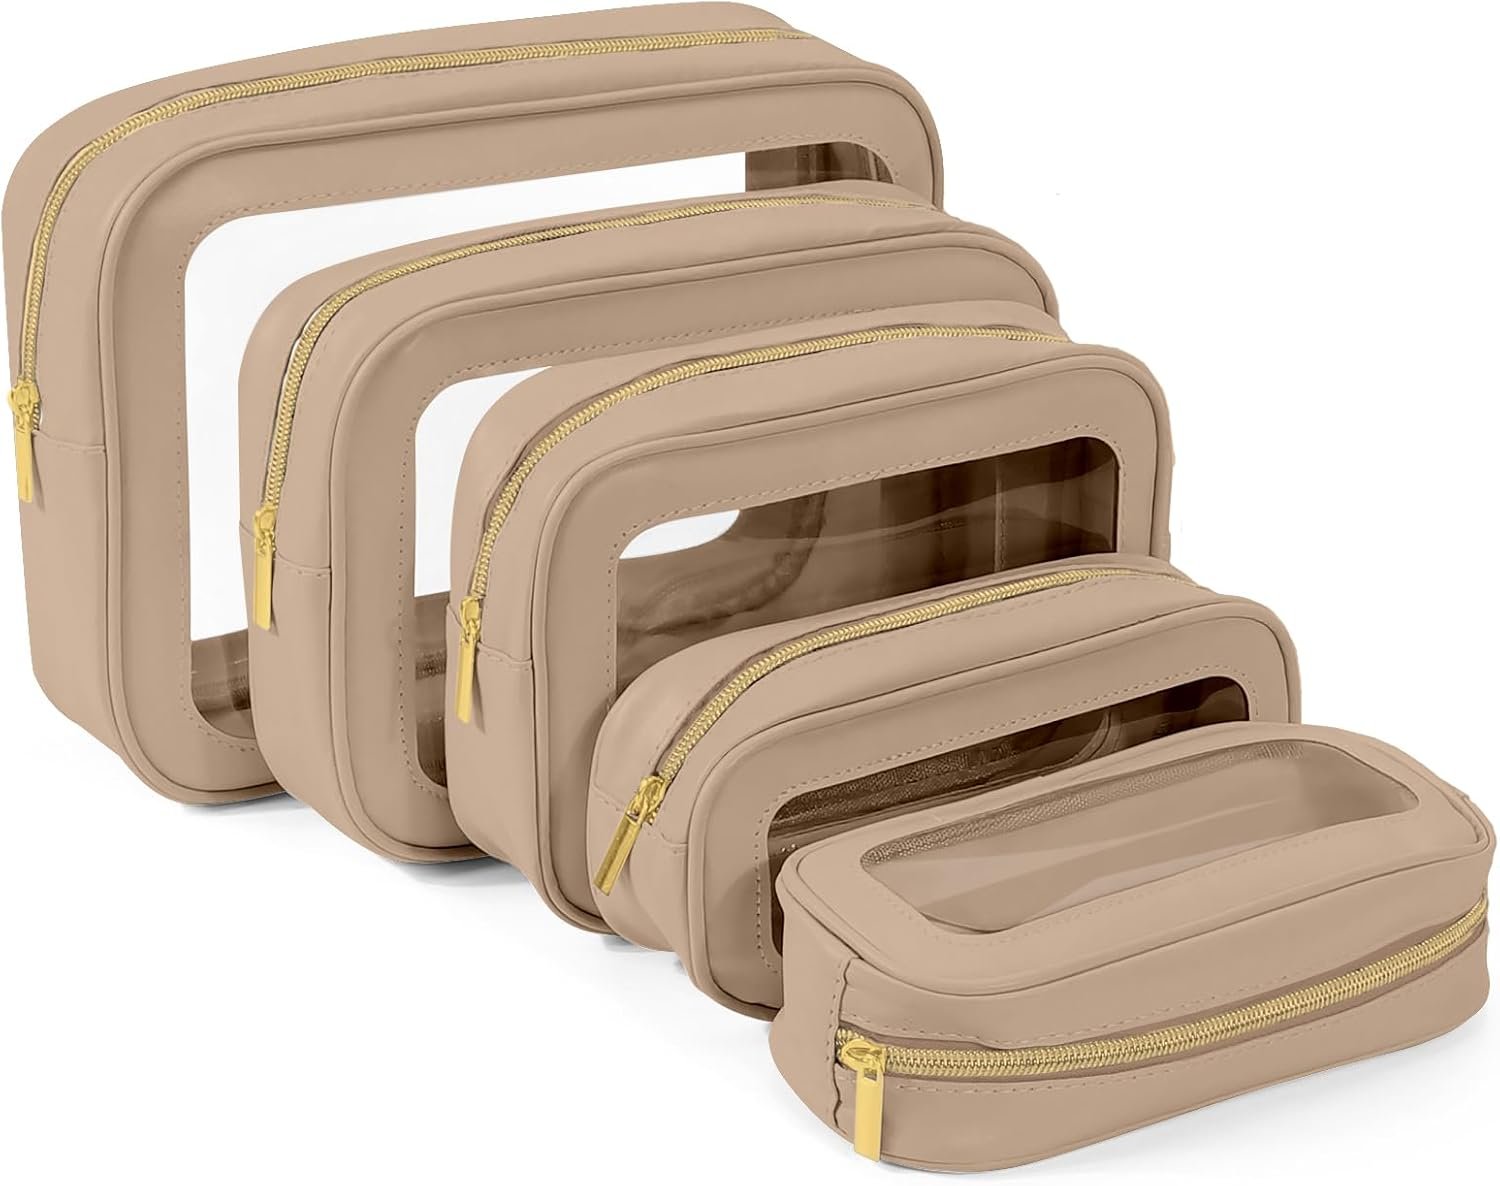
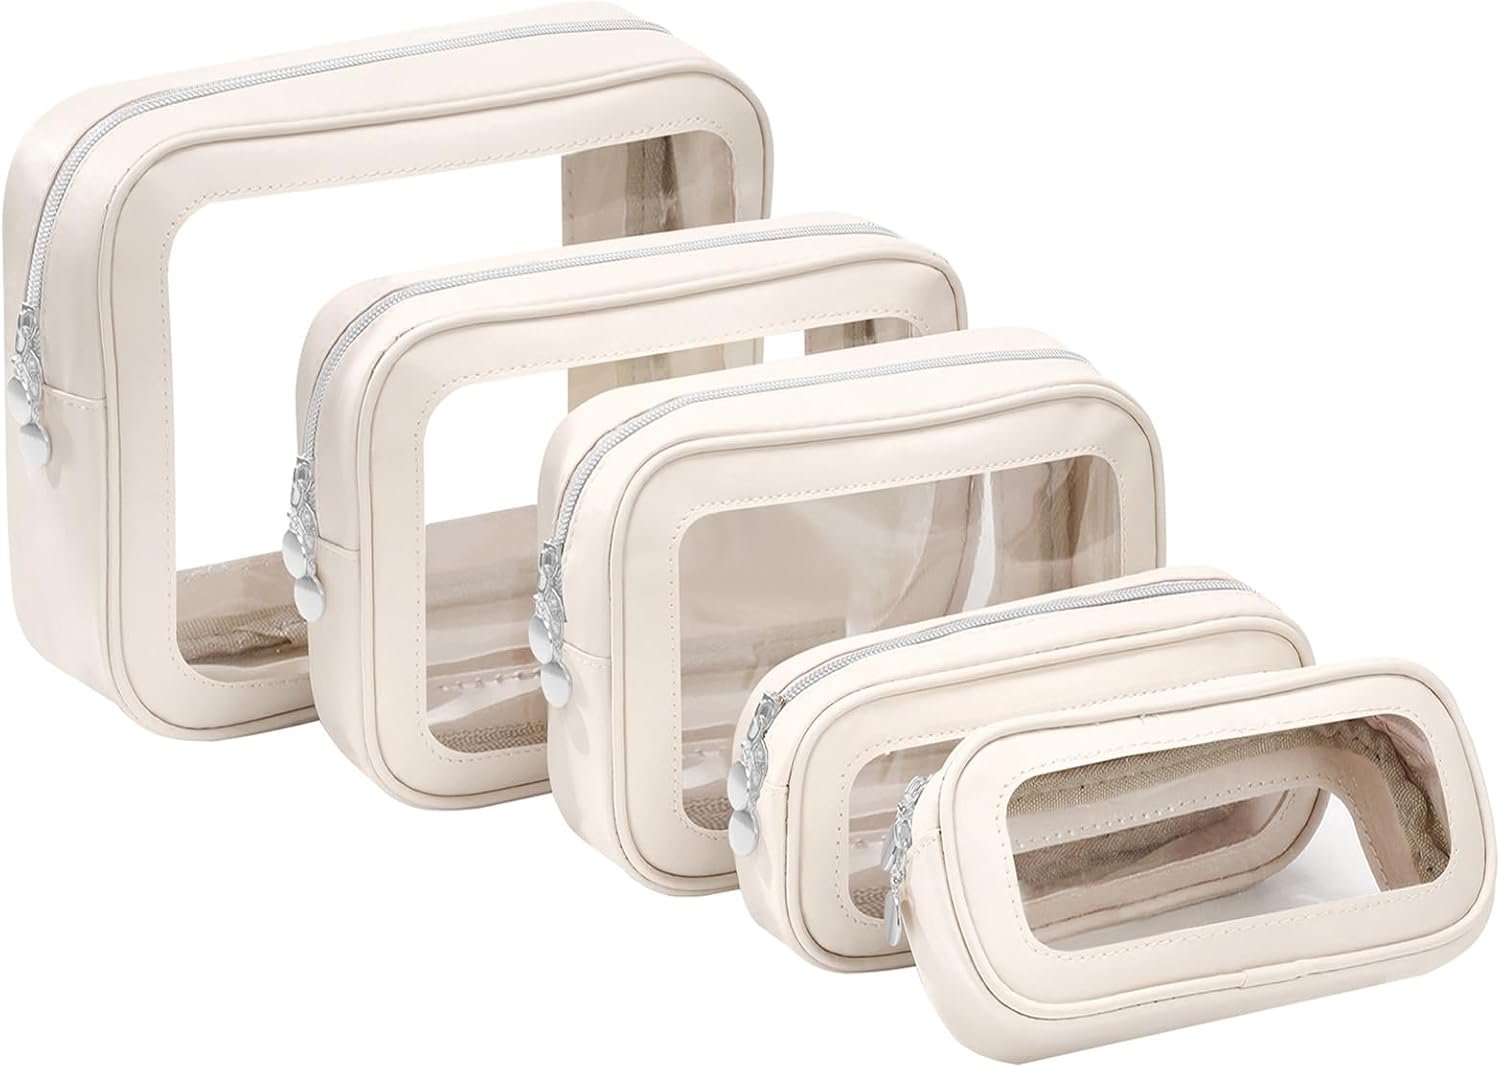
Enhancing the functionality of a standard private label cosmetic bag by adding a hidden pocket for jewelry can significantly improve its appeal for travelers, makeup enthusiasts, and everyday users. This modification provides discreet storage for valuable items like rings, earrings, and necklaces, keeping them secure and separate from toiletries. Cosmetic pouches designed for private labeling offer versatility, allowing custom features that cater to specific customer needs. Brands like YoPaPouch specialize in producing high-quality cosmetic pouches that serve as an excellent base for such customizations, ensuring durability and aesthetic appeal.
Whether you’re a manufacturer looking to differentiate your product line or a DIY enthusiast personalizing a bag, this process is straightforward with the right tools and materials. It requires basic sewing skills and attention to detail, transforming a simple cosmetic bag into a multifunctional accessory. By following these steps, you can create a seamless hidden compartment that blends naturally with the bag’s design.
Materials Required
To successfully add a hidden pocket, select materials that match the cosmetic bag’s fabric for a cohesive look. High-quality, reinforced fabrics ensure the pocket withstands frequent use. The following table outlines the essential materials, including quantities and specifications for a standard-sized private label cosmetic bag measuring approximately 10×7 inches.
| Item | Quantity | Description |
|---|---|---|
| Fabric for pocket | 1 piece (8×6 inches) | Matching the bag’s exterior or interior lining; water-resistant nylon or polyester recommended |
| Sewing thread | 1 spool | Heavy-duty, color-matched to fabric for invisible stitching |
| Velcro strips or zipper | 2 strips (4 inches each) or 1 mini zipper | Self-adhesive or sew-in; ensures secure closure |
| Fusible interfacing | 1 piece (8×6 inches) | Medium-weight for added structure to prevent sagging |
| Ribbon or elastic | Optional, 12 inches | For internal organizers or loops to hold jewelry |
These materials are readily available at craft stores or online suppliers, keeping costs low for bulk private label production.
Tools You Will Need
Gathering the proper tools beforehand streamlines the process and minimizes errors. A well-lit workspace with good ventilation is ideal. Ensure your sewing machine is threaded and ready, as hand-sewing this modification can be time-consuming.
Preparing the Cosmetic Bag
Begin by laying out your standard private label cosmetic bag on a flat surface. Identify an ideal location for the hidden pocket, such as the interior side wall or the back panel. For optimal discretion, choose a spot behind an existing pocket or flap. Carefully unpick a small section of the seam using a seam ripper—about 6 inches long—to access the lining without damaging the outer fabric. Press the opened edges with an iron to create crisp folds, preparing for the pocket insertion.
This preparation step ensures a professional finish. If your cosmetic bag features zippers or magnetic closures, test them after alterations to confirm functionality remains intact. Transitioning smoothly to the construction phase, apply fusible interfacing to the pocket fabric following the manufacturer’s instructions for heat bonding.
Step-by-Step Construction Guide
With materials and the bag prepped, follow this numbered sequence for precise assembly. Each step builds on the previous, creating a sturdy, concealed pocket.
- Cut and reinforce the pocket fabric: Trace and cut the fabric to 8×6 inches. Fuse the interfacing to the wrong side, then fold the top edge over ½ inch and hem it for a clean finish where the closure will attach.
- Attach the closure: Sew or adhere Velcro strips to the hemmed top and corresponding spot on the bag’s interior. For zippers, pin and stitch along three sides before installation.
- Position the pocket: Slide the pocket fabric into the unseamed opening, aligning the closure with the access point. Pin securely, ensuring the pocket doesn’t bunch.
- Sew the pocket in place: Using a ¼-inch seam allowance, stitch around the opening, reinforcing corners with backstitching. Trim excess fabric and press flat.
- Reclose the bag seam: Topstitch the original seam closed, matching the existing stitches. Add internal loops from ribbon if desired for jewelry organization.
- Test and finalize: Insert small jewelry items to verify fit and security. Iron the area gently to set stitches.
This methodical approach guarantees a hidden pocket that’s both functional and invisible from the outside. For private label runs, replicate this on multiple units with consistent quality control.
Customization Options
Once mastered, adapt the design to suit various cosmetic bag styles. Incorporate RFID-blocking fabric for tech-savvy users protecting smart jewelry or expand the pocket size for bulkier items. Padding the pocket with thin foam adds protection against scratches. These variations elevate a standard bag into a premium product, appealing to niche markets.
Consider the end-user’s lifestyle: for gym-goers, make it moisture-resistant; for professionals, opt for sleek, minimalist finishes. Such personalization aligns perfectly with the flexibility of private label cosmetic pouches from manufacturers like YoPaPouch.
Common Challenges and Solutions
Encountering puckering during sewing? Use a walking foot on your machine for even fabric feed. If the pocket feels too shallow, interface both sides of the fabric. Always match thread tension to avoid visible pulls on the exterior. Prototyping on scrap material first prevents waste in production.
Maintaining alignment requires patience, but the result—a secure, hidden jewelry compartment—justifies the effort. Regular maintenance, like spot-cleaning the pocket, preserves longevity.
In conclusion, integrating a hidden jewelry pocket into a standard private label cosmetic bag is a simple yet impactful upgrade that boosts security, organization, and marketability. This modification not only protects valuables during travel but also sets your product apart in a competitive landscape. By leveraging durable bases suitable for customization, you create versatile accessories that meet diverse needs. Implementing these techniques opens endless possibilities for innovative designs.
Last Updated on April 25, 2026 by YoPaPouch
Payment Methods We Accept
To provide you with the best shopping experience, all payment service fees are covered by us. You only pay the order amount—we take care of the rest as a token of our sincerity.
1. Credit/Debit Cards
We support all major international card networks, including Visa, Discover, Diners Club, American Express (Amex), and JCB.
Estimated processing time: 1-2 hours | Service Fee: $0
2. Local Payment Methods
For your convenience, we support various popular regional payment options with no extra cost to you:
- Asia: WeChat Pay
- Europe: iDEAL (Netherlands), Bancontact (Belgium), BLIK (Poland), EPS (Austria), Multibanco (Portugal), MyBank
- Latin America: Pix (Brazil), OXXO, and SPEI (Mexico)
Estimated processing time: 1-2 hours | Service Fee: $0
3. Bank Wire Transfer (T/T)
We accept traditional bank telegraphic transfers for all orders.
Processing time: Usually 3 business days | No extra fee
* All transactions are secure and encrypted. Thank you for choosing our service!
Get A Sample